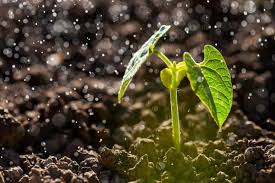
Spring has arrived and as the weather warms you have started dreaming about all the seeds you will soon be planting. I can hear the pages of those enticing seed catalogues flicking as the ground outside is heaving to life.
In our ever-changing climate it is becoming more and more important to understand what makes a seed germinate so we have the knowledge to adapt to the erratic climate and local conditions. Many of you may already be aware that the guide on your seed packets of when to plant your vegetables doesn’t have so much to do with your location on a map so much as it is dependent on your SOIL TEMPERATURE. The seed packet is general in nature only and cannot account for the onset of an early, warm spring one year and a late spring the next. It also cannot account for conditions specific to your site such as aspect (north being warmer, south being cooler), thermal mass (a raised garden bed made from brick which will warm your soil faster), shading, soil type, soil moisture content, bare soil, mulched soil, etc. Many things can affect the temperature of your soil and therefore the germination of your seeds.
All seeds have a preferred temperature that stimulates their germination. If you have had a long winter and the soil is still too cold then germination will be delayed and the seeds may rot in the ground. On the other hand, if the soil is unusually warm in the spring, it’s possible to sow earlier. If you are aware of the seed’s temperature preference you can ensure you are sowing under optimal conditions and will get a higher germination rate.
USING A THERMOMETER TO TEST SOIL TEMPERATURE
Some advice will tell you to measure the soil at various depths depending on the seed you wish to sow while others will say to measure at approximately 5cm deep. While taking your soil temperature at a variety of depths seems like great advice, the temperature can fluctuate wildly the closer to the soil surface you are so to get an accurate soil temperature reading for a small seed that will be planted at a very shallow depth becomes quite hit-and-miss. I find I get a more stable average by going deeper into the soil. I prefer to take a temperature at about 5cm.
1. Test the garden where you intend to be planting and is typical to your planting methods (ie. Covered with mulch). The area should be relatively flat and not compacted.
2. Test over several days choosing a week that is typical to the normal weather at that time of year. Look at weather forecasts to determine what the rest of the week will be doing. Also ensure that the day BEFORE you started your soil testing was a typical day and not unseasonably hot or cold.
3. Take soil temperature in the morning and the afternoon (12 hours apart) and get the average of these temperatures. If this is not possible then try to test at either 8am or 8pm as these times seem to approximately correlate to the overall average at 5cm.
4. Test at a 5cm depth using a soil thermometer. If you are using a normal glass thermometer then use a screwdriver, or something of a similar size to the thermometer, to “pre-drill” the hole and avoid damage to your thermometer.
I recommend that you paint the top of your thermometer with a brightly coloured paint or nail polish. I have lost a thermometer in the garden for days once just because (for some silly reason) the store bought soil thermometers often seem to have a GREEN top to them!
USING NATURE TO TEST SOIL TEMPERATURE
Sometimes I just let my garden tell me what my soil is doing. I always have plants self-seeding in my patch so if I walk out one morning and I see lots of tiny tomato seedlings popping their heads out of the ground I know that my soil has reached at least 16 degrees and it is a good time to plant tomatoes as well as anything else that likes to germinate in similar temperatures to the tomato. If I am seeing rocket sprouting like mad then my soil must have cooled down to about 13 degrees and I start to think about other cool season crops that like this temperature. You can use most plants as a soil temperature indicator – even your weeds if you know what temperature they germinate at!
LET YOUR BODY BE THE THERMOMETER
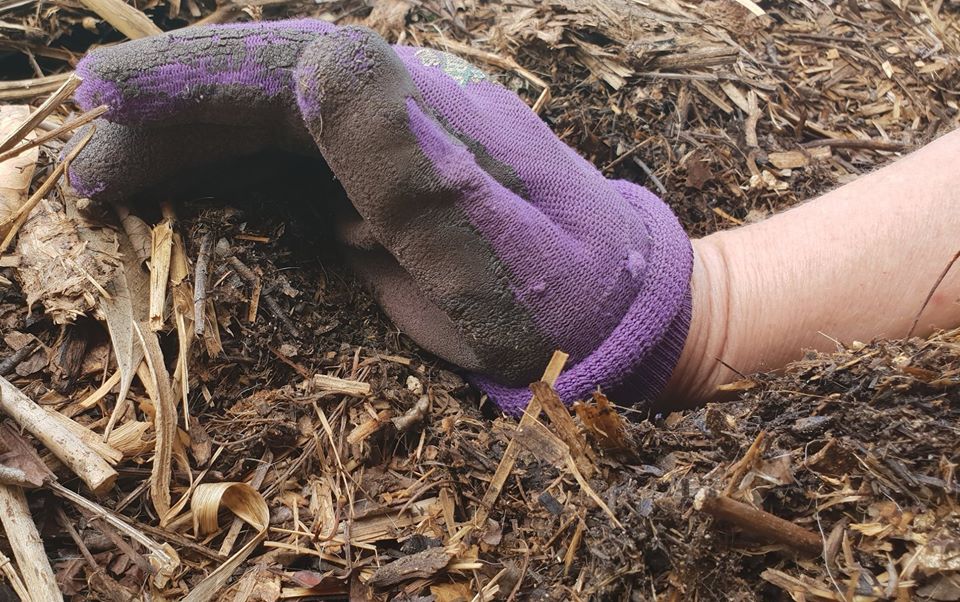
You may have heard of this method of days gone by – when it is warm enough to sit on the soil with your bare bum it is warm enough to plant. I do not advocate dropping ones britches for the world to see but the body is an amazing machine and you can certainly learn how to determine various temperatures by feel. While a finger is better for testing deeper into the soil, I like to use my wrist as it is sensitive to temperature and it is also easy to do a quick test while wearing gardening gloves. Beware! Your finger will give you a different “reading” to your wrist so you need to “calibrate” each one separately. This is outlined below.
Fill a glass to the brim with warm water. Test the temperature of the water using your thermometer and then dip your finger or wrist into the water. Take a mental note of how warm/cool the water feels related to the actual temperature of the water. It may be helpful to write down notes at this stage as to how the water felt to you. Change the temperature of the water in the glass and repeat the test. Do this several times as you train your wrist/finger to the sensation at differing temperatures. You can now do a quick and easy check in the garden any time you want!
Now run outside and create your oasis!
Jo

