The permablitz I ran at Girraween on the weekend was my most exciting yet. Don’t get me wrong, I enjoy doing the raised garden beds, the pruning, the planting, the digging, the mulching, etc – but putting in a natural pond was something I could REALLY sink my teeth into!
Designing and building a pond that creates its own natural ecosystem so that it stays clean and clear without the need for pumps, filters and chemicals is possible if you just follow a few important rules. The first thing you need to be aware of is what makes your pond turn nasty in the first place. The 3 biggest culprits are: too much light (allowing algae to thrive), water being too warm (which also promotes algae growth and depletes oxygen levels), and high nutrient load. So let’s dive right in and learn how to deal with these issues – naturally and sustainably.
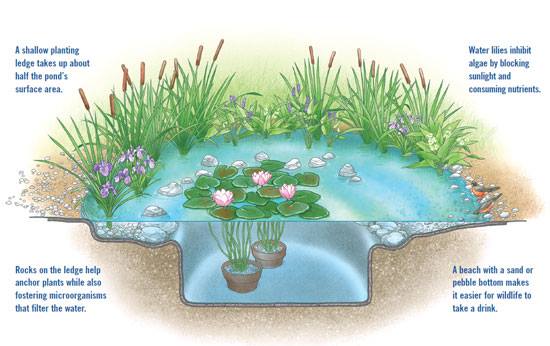
First we needed to dig the hole. When thinking about the size of your pond, bigger is better. A larger body of water will be able to hold a more stable temperature. Depth is very important here as a shallow pond will warm up very quickly which creates the perfect conditions for algae to grow. The pond should be at least 60cm deep to stabilise the water temperature. In climates where it gets extremely hot or extremely cold, 90cm is better. The profile of the pond bottom should look similar to an upside down hat. It should have a deep centre with a “shelf” around the outside edge. The shelf should be about 20cm deep and account for about half of the surface area of the pond. A shelf of at least 35cm wide gives you enough room to plant into so if you only have room for a very small pond, opt for a wide shelf at one end and no shelf at the other (rather than a very narrow shelf all the way around. At least one side of the pond should have a gently tapering bank to make it easy for wildlife to come in for a drink. And don’t forget to dig a “spillway” where the pond can overflow during heavy rains. Lined with rocks and pebbles the spillway can be made to look like a dry creek bed.
Once you are happy with your hole it is best to line it with something to help avoid punctures in the pond liner. We used hessian bags and they worked perfectly. Once the hessian bags were in place the pond liner went down. At this point we filled the deeper hole in the centre with water so that the liner would settle into place. This avoids the risk of rocks and pebbles on your pond shelf being pulled into the deeper water as the pond liner shifts and molds to the shape of the bottom of the pond. Once the centre was filled, the pond liner was pushed roughly into place and then trimmed around the edges leaving about 10cm around the outside where possible.
Next it was time to work on the pond shelf. A ring of bricks were placed on the edge of the shelf closest to the centre, this was to stop pebbles rolling into the deep part of the pond. Behind the bricks we back-filled the shelf with pebbles to about 5cm deep. These will anchor your plants into place but, more importantly, the pebbles provide plenty of surface area for microorganisms and bacteria to grow on. These help break down organic matter in the pond and so work to keep the water clear.
Next we continued to fill the pond so that the pond liner could pull itself into position before we anchored it around the edges and created our “beach” area with decorative and large stones.
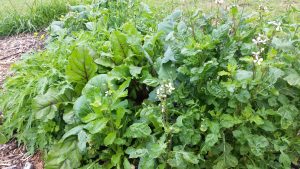
Now it was time to put the plants in. When they are established we want at least 50% plant cover. A new pond will rarely have this many plants in the beginning, but they grow so quickly! The plants have many uses. They oxygenate the water, they consume nutrients in the water, they shade the water to reduce algae (water lilies are particularly good for this), they look beautiful, they provide a haven for wildlife, and we used all edibles of course! We put the plants into the pebbles around pond shelf. Water lilies that prefer deeper water can be put in the centre of the pond in pots filled with pebbles. Remember to keep your edible water plants accessible to make harvesting easier (and drier).
Circulation in the pond was achieved by having one end of the pond in the shade and the other end in the sun. This will create movement due to thermal differences in the pond as warm water moves towards the cooler water and the cooler water will move underneath the warm water and so be circulated around the pool.
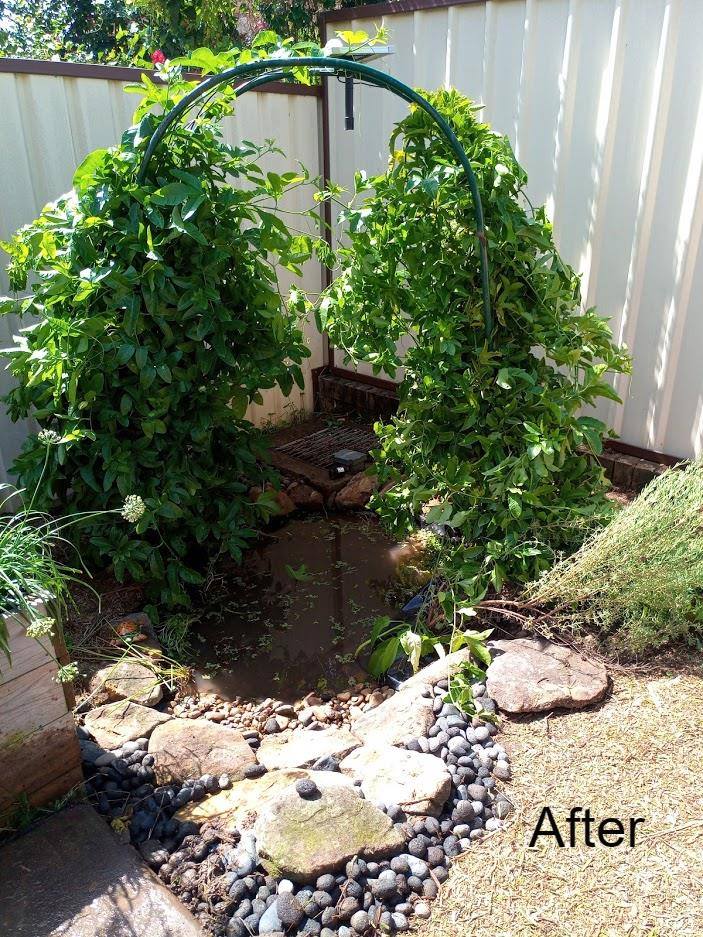
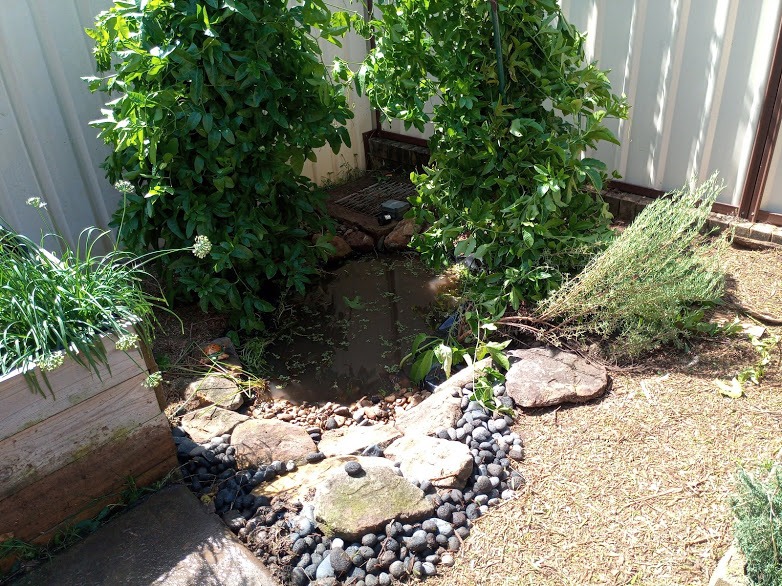
And so our pond was finished! The water was muddy as some of the rocks were dirty but this will settle in time. In the beginning, as your plants and microorganisms are getting established, you may have some algae, but this will decline as the ecosystem matures.
If you wanted to have fish in your pond you need to remember that these add to the nutrient load on your pond. Go for small native varieties if you must, and increase the number of plants in your pond to accommodate them. Also, do not feed them – you want to reach a natural balance of how many fish your pond can sustain, and fish food only loads up your pond with even more nutrients.
So here are the rules:
• Lots of pebbles (provides surface areas for beneficial microorganisms to grow)
• 50% plant cover/shade
• At least 60cm deep
• Do not clean out the pond or you will kill the microorganisms that you have been breeding
• Do not add fertilizer
• It is better not to add fish (or fish food)
• Give it TIME to become established
Now run outside and create your watery oasis!
Jo